
When you knit in garter (knit) stitch, if you want to add another colour, change it when your first tail is on your right. Not here. This is a photo of the front of the square.

If you look at it from the angle of the knitter, you'll see the tails are on the left. If you add a new colour here, you will get a line along the front of your square similar to the one you can see here, as if it was the back of the square (which sometimes you could do deliberately if you want a different kind of look, of course - I have even seen a whole blanket made using the technique).
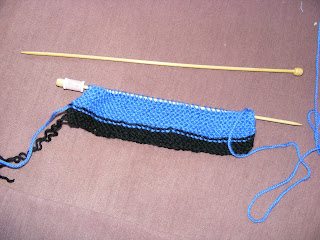
When counting rows in garter (knit) stitch, each fat line is actually two rows. So I've got 12 rows of blue in the square above.
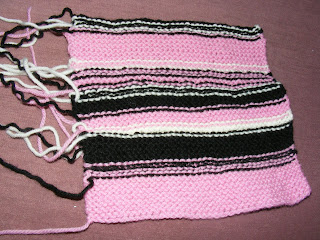
Here is the front of a finished square.

Here is the back. See all the extra lines between each colour join?
To finish off the squares, all the tails need to be tucked into the back of the square. I take mine up the rows, away from the edges, as I feel they get in the way a bit when I'm trying to crochet the squares together otherwise. I weave the tail (with a big, blunt knitting needle) in and out of one row of stitches, then double back. Doesn't need much, just enough so that it won't unravel itself. Here's one I've just done. Cut off the extra wool after you've finished stitching them in.
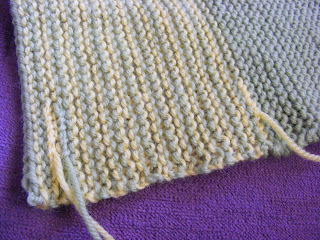
You might also notice there is not a tail for every time I changed wool. If you're only doing a few rows of a colour (say, 6 or less) you can just tuck the wool up the side of the knitting and keep going rather than cutting it off each time. If you want it really nice and neat, pull the old colour (the one you just finished with) in front of your current colour as you do the first stitch.
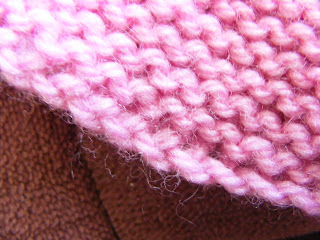
When you go to crochet or stitch your squares together, you might want to know which way around to put them. You can just randomly do them - if you are a nice even knitter you will be able to have some sideways and some top to bottom if you want to. This gives some lovely texture variation. If you're doing a pattern though, it helps to have them all facing the same way. The top and bottom do actually look different. Here's the bottom of one of my squares. See how soft and holey it is? While the top is sort of straighter, a cleaner-cut edge we could say.

Right, that's it folks. I do hope this helps with the knitting endeavours.
Amy
Sunday, 6th February, 2011
1 comment:
Well done - hopefully you have inspired others :-)
Blessings
M
Post a Comment